Installing ceramic tile can be difficult if you try to do it yourself, this is why you need professional help from an experienced local handyman. In this article, we will show you how Home & Business Services (HBSOnTime.com), a family-owned business operating since 2013 in the Greater Fredericksburg Area, VA does it. Apart from handyman services, they also offer professional cleaning services (residential, commercial, air ducts, windows, carpets), home maintenance, and turnkey services, at affordable prices.
- Assessing the surface. Before starting the process, a professional local handyman will always inspect the surface, as the substrate is sometimes more important than the tiles themselves. An uneven wall or a flexing floor can translate into broken tiles and failed grout in the long run. Whether we are talking about backer board, plywood, or concrete, the substrate has to be firm, clean, and stable. In other words, the surface on which the tiles will be laid has to be level, without any bumps;
- Making measurements. This step will ensure the local handyman that he won’t have to cut very thin tiles (or very thin shards from nearly full tiles) as he reaches the lower end of walls. Similarly, when it comes to tiling floors, especially in a small area, very wide tiles at one end and very narrow ones at the other end will make the whole work look unbalanced and unprofessional;
- Laying out the tiles. The next step involves laying out the tiles, to see what they will look like. Since the spaces between the tiles should be uniform, professionals will use spacers if the tiles don’t come on mesh sheets. If the tiles are too close together, grout won’t bond well and it can fail prematurely, subjecting them to water damage and leaks. The actual tiling should be done one row or course at a time, measuring at least twice after setting each row;
- Cutting the ceramic tiles. Regardless of the cutter’s design, the local handyman will use the surface to apply firm pressure to the score line which will cause the tile to snap in half;
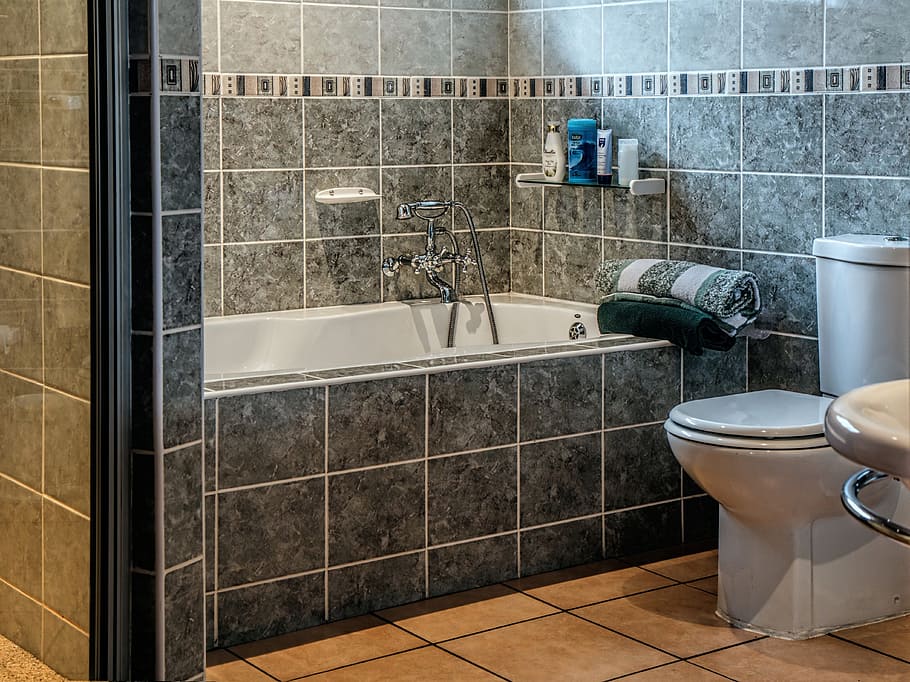
- Adhering tiles. Since we’re talking about installing ceramic tiles, chances are that it’s in a setting prone to moisture, such as the bathroom or kitchen. In this case, a waterproof adhesive should be used. Spreading it on the surface involves using a square-notched trowel, while respecting the manufacturer’s waiting time before setting the first tiles is a must;
- Grounting tiles. Usually, grout is bought as a powder and mixed with water or a recommended additive. The local handyman will spread it evenly, using a blunt stick or another tool. The most dedicated professionals will add a dye or pigment to the grout since the white one will prove very difficult to keep clean;
- Cleaning and sealing. Last but not least, the residue on the surface of the tiles will be sponged off, especially if the tiles have a porous or variegated surface. Dried grout could prove almost impossible to remove from indentations, as every experienced local handyman will tell you. Finally, after applying the grout sealer, the job is done!
What is your reaction?
Excited
0
Happy
0
In Love
0
Not Sure
0
Silly
0